The completion of my sculpture..
Starting shape...
First few bits attached.. the easy part.
You can see it's starting to get rounded off..
To try it out, I just stuck it together using masking tape, so that I could take it apart again. This was making sure that it fitted together properly.. which it KIND OF does..
Then I took it apart again to cut the slits for the trees, and put it together again, neater, and using clear cello tape where needed.
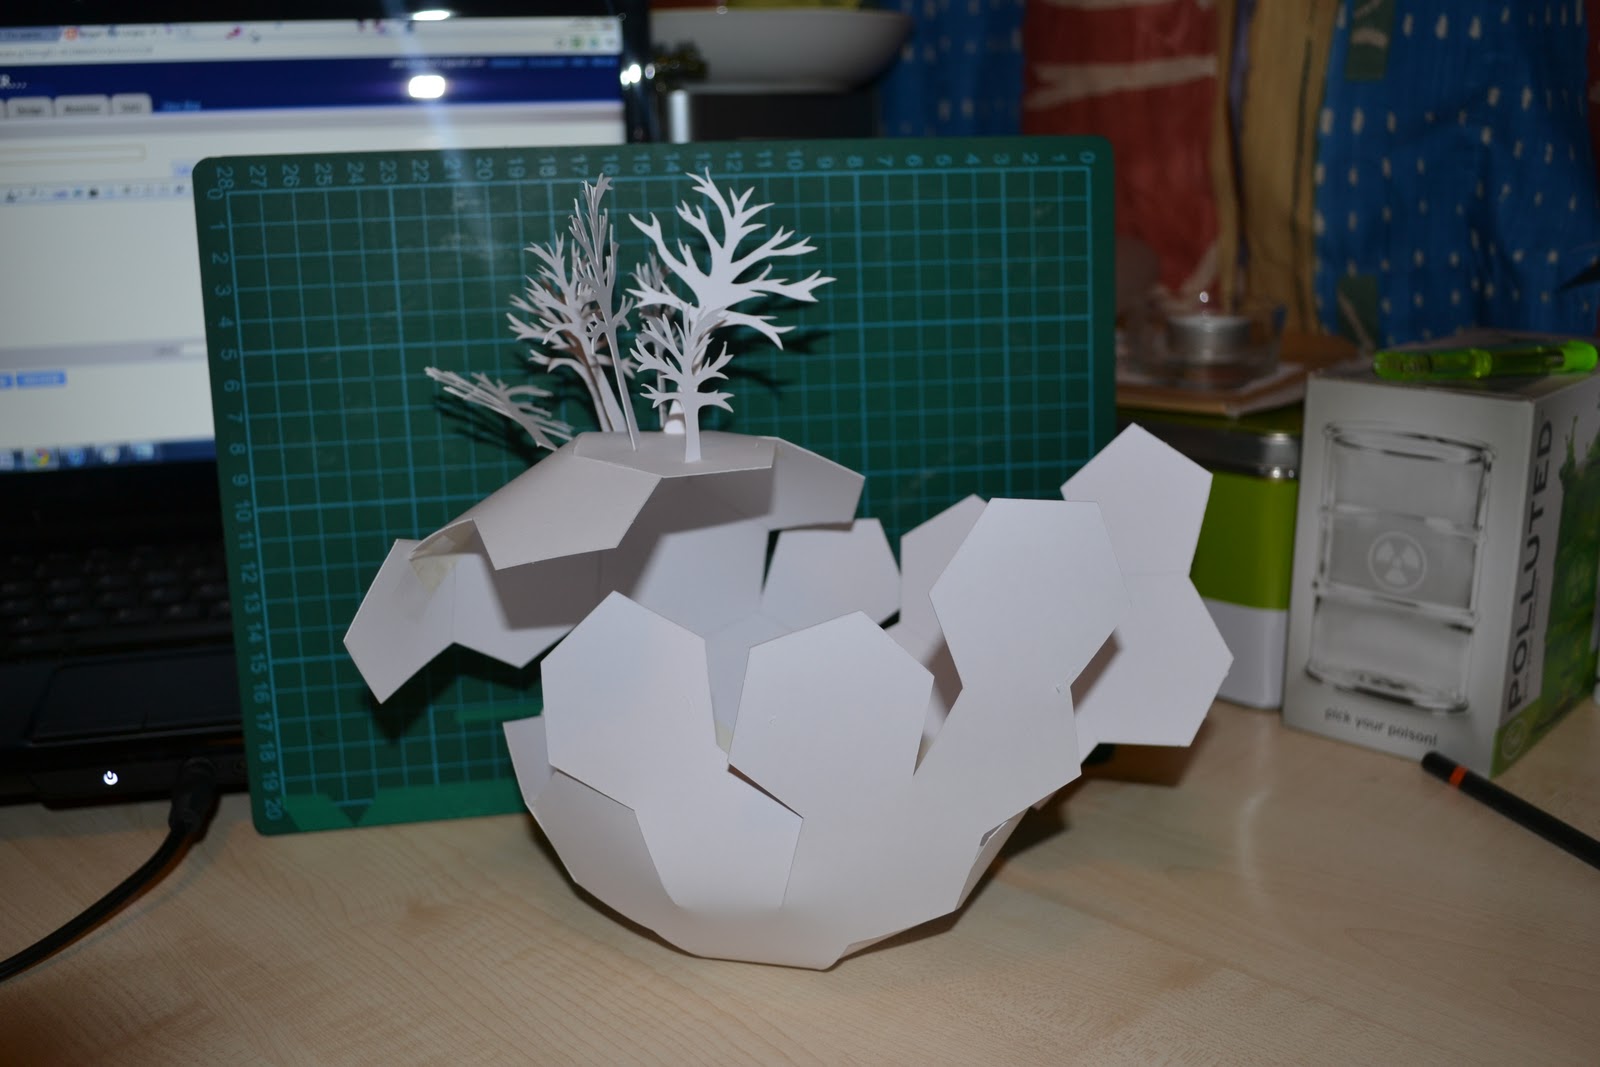
I made incisions in this one area, so that I could slot the trees in while it was still open at the top.
This is how the trees went it.. This worked just as well as I thought it would.
This, obviously, is what it looks like half completed.. Although it's not finished I actually quite like how it looks at this stage..
However also at this stage.. I realise it is EXTREMELY hard to attach the last few bits, as it's inside the globe! Where my fingers can not reach! It's really difficult, but I made some extra tabs to attach, to see if it was easier...
This did work for most of it.. Also a lot of it looked neater, especially without all the bits of cello tape holding it together. I just used PVA glue to stick the tabs.
For the last bit, where I physically could not stick the tab on the inside to hold it.. I ended up just glueing part of the shape down, overlapping onto the other shape. Although you can tell it overlaps a bit, it looks much better than it did before overall!
Now it's COMPLETE.. Time to photograph...
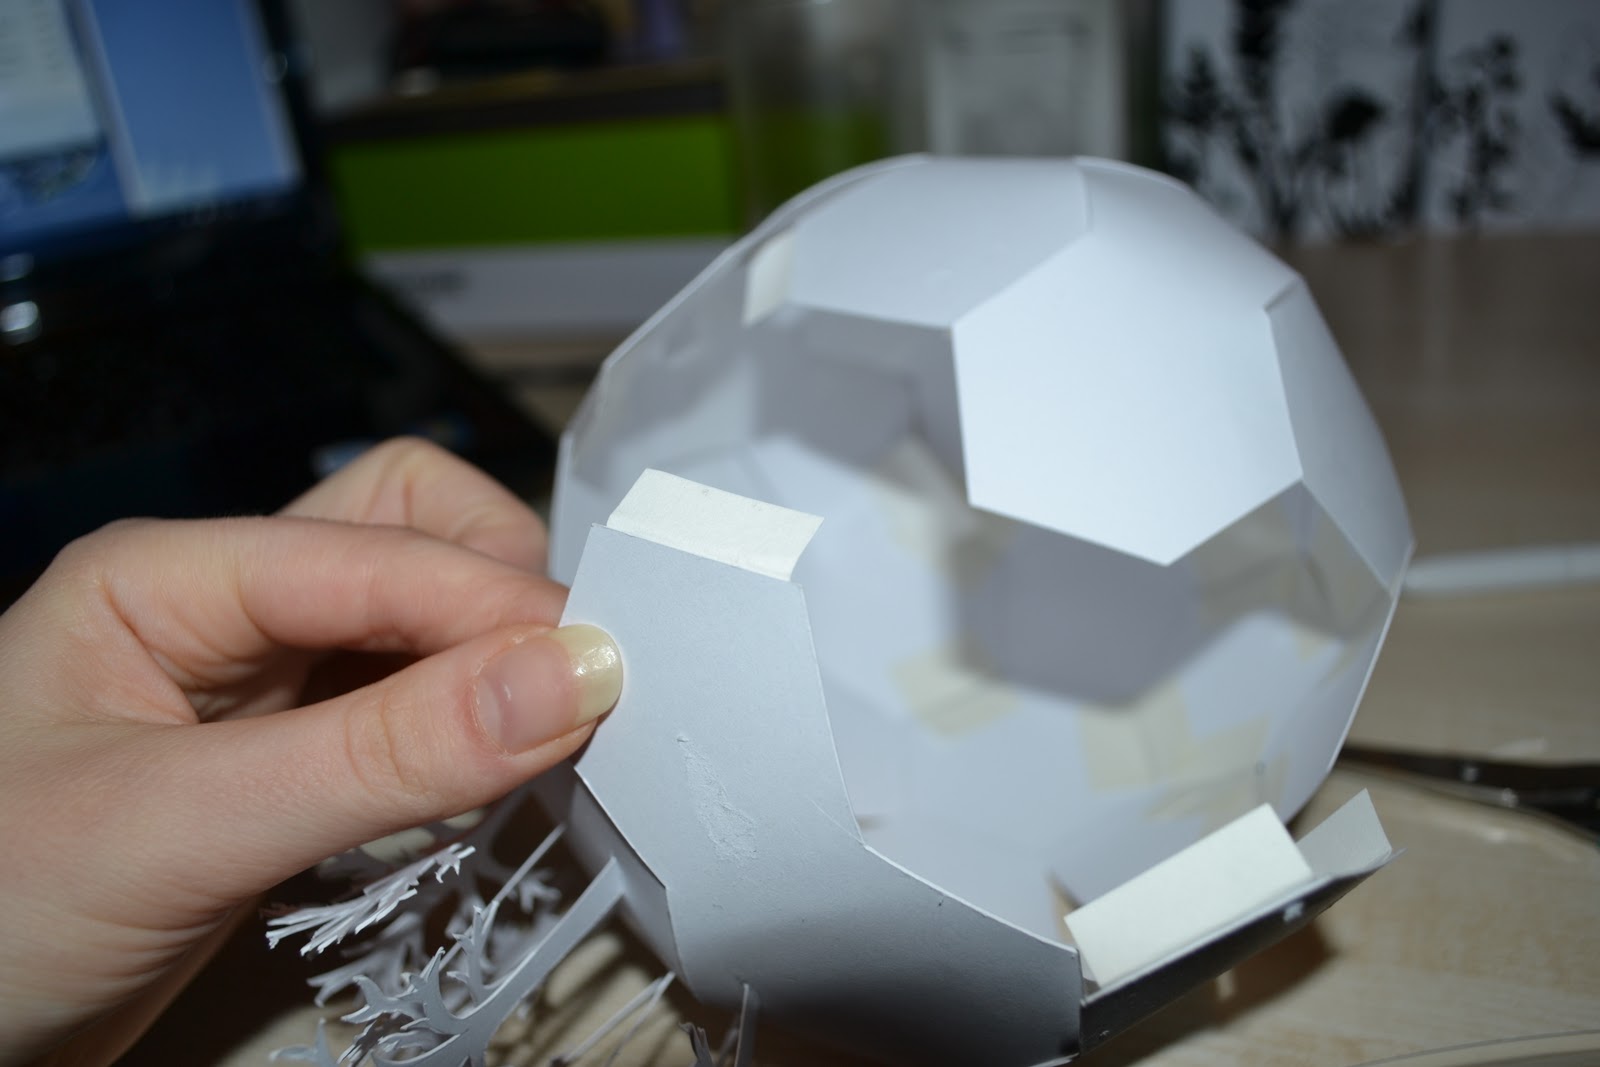
TA DAAA! Here is my final piece.
I photographed it with my hand holding it to show the scale of it.
The lighting is not perfect, but you get the idea.
Looking down from the top.. I quite like this view, the trees look a bit like antlers on a deer or something!
The photos above have been photographed before I decided to glue tabs on.. So you cant tell it is still a bit straight edged. Once it'd been glued.. it looked like this:
So I photographed it a bit, but I feel like I'm struggling to get a descent photo of it, as I feel it is still a bit messy really..
I do however think that the shape of the globe is better now that it's been glued.
Over and out. PEACE.